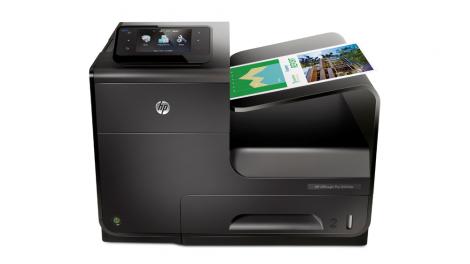
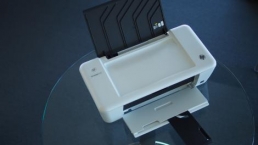
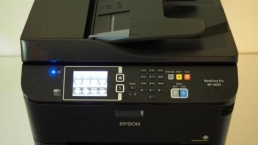
Just because you have multiple Macs doesn’t mean you need multiple printers, nor does it mean you need to rely on only one computer to handle print jobs. OS X includes a very nice network printer system that lets you easily share printers between all of the Macs on your network. In this Mac tip, we’ll show you how it’s done.
Start by logging into the Mac with the attached printer, then follow these steps:
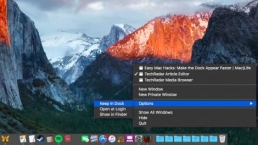
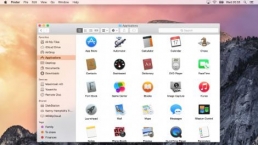
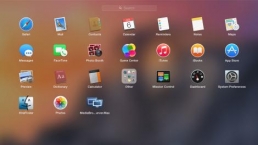
1. Open System Preferences (Apple Menu > System Preferences).
2. Open the Sharing preference pane.
3. Enable the option for Printer Sharing.
4. Check the box beside of each of the printers in the Printers list that you wish to share over the network.

That’s it! Once you’ve enabled these settings, your connected printers will now be available for sharing over the network with all of the other Macs. However, you still need to set up the shared printer on your other Macs in order to use it by performing these steps:
1. Open System Preferences (Apple Menu > System Preferences).
2. Open the Printers & Scanners preference pane.
3. Click + to add a new printer.
4. In the Add dialog that appears, select the printer displayed from the network scan to add, then click Add.

Once you’ve done this, you’re now ready to print over the network to the connected printer. There’s no trick necessary: when you try to print, the job will automatically transfer over the network to the computer containing the printer, then the print job will be executed and printed.
![]()
Related Posts

Apple to Pay $250 Million Settlement Over Misleading iPhone AI Siri Features
Apple has agreed to a $250 million…

OpenAI in Court: Greg Brockman, Elon Musk, and the Battle Over AI’s Future
OpenAI’s president Greg Brockman takes…

Reggie Fils-Aimé Reveals Why Nintendo Stopped Selling on Amazon in the DS Era
Former Nintendo of America President…

Musk v. Altman: Revealing the Early Secrets of OpenAI
Get an inside look at the Musk v.…

Apple’s “Ultra” Era: The Next Evolution for iPhone and Mac
Apple is rumored to expand its ‘Ultra’…

How AI Is Changing Breakups: A Look at Digital Relationship Endings in 2026
Breaking up is never easy, but in 2026,…

Elon Musk’s Courtroom Performance Raises Eyebrows in Musk v. Altman Trial
Elon Musk appeared less prepared and…

Jury Selection in Musk v. Altman: Public Opinion Challenges Elon Musk in Court
Jury selection in the high-profile Musk…
Google’s New Gradient Icons: A Fresh Look Coming to More Apps
Google is expanding its new gradient…

GPT-5.5: OpenAI’s Latest Breakthrough Is Resetting the AI Bar
OpenAI’s GPT-5.5 has arrived, setting a…

Xbox Game Pass ‘Starter Edition’ Leak: New Bundle with Discord Nitro Revealed
A new leak reveals Microsoft is…

DJI Launches Lito Series: Affordable Entry-Level Drones Starting Under $400
DJI introduces the Lito 1 and Lito X1,…

The End of Human Intimacy: How AI Companions Are Rewiring Our Emotional Lives
Are AI companions truly filling the…


The new brand identity
When you are alone for days or weeks at…