
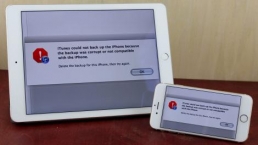
If you backup your iPhone, iPad or other iOS device to your Mac instead of to iCloud, then you’ve probably seen a noticeable increase in size used on your start up disk. This is because iOS backups can be multi-gigabyte files that take up considerable space; however, you may not actually need these backups except in emergencies. This can be especially noticable on a laptop, where disk space is often limited.
In this tip, we’ll show you how to move your backup files to an external disk so that they no longer take up extra space, plus we’ll show you how to move them back so restoring can be a breeze.
Before you begin, of course, you’ll need to create a backup for your iOS device using iTunes. To do so, connect your iPhone or other device to your Mac, click on the device tab in iTunes, and hit the Back Up Now button. (Or go to File > Devices > Back Up.)
Moving the backup from your start up disk
When you’re ready to move the backup file to an external drive, follow these steps:
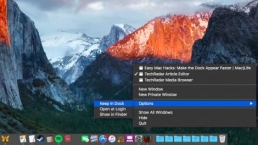
1. Quit iTunes.
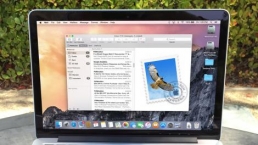
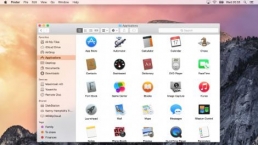
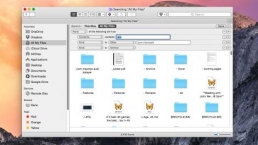
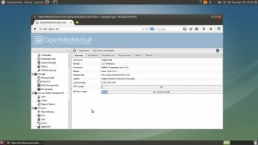
2. Open a Finder window and type Shift + Command + G (or select Go > Go to Folder), then type “/Library/Application Support/MobileSync/Backup”
3. Locate the folders inside of the Backup directory, and move these to another drive. Once they’ve copied, you can delete the originals.
4. Relaunch iTunes.

That’s all you need to do in order to move the current iOS backups to another disk. Note that each time iTunes syncs with your iOS device, new backup files will be created, so you’ll need to repeat this process whenever you make new backups.
Moving the backup back to your start up disk
When it’s time to restore your iOS device, you’ll need to move the backups back to your main start up disk so that iTunes can locate them. To do this, follow these steps:
1. Quit iTunes.
2. Open a Finder window and type Shift + Command + G (or select Go > Go to Folder), then type “/Library/Application Support/MobileSync/Backup”
3. On your external drive, locate the folders previously removed from this Backup directory, and move them back to this location.
4. Open iTunes and begin the restore process.
Once the files are back where iTunes they were originally, iTunes should be able to see them and make them available during the restore process.
![]()
Related Posts

Apple to Pay $250 Million Settlement Over Misleading iPhone AI Siri Features
Apple has agreed to a $250 million…

OpenAI in Court: Greg Brockman, Elon Musk, and the Battle Over AI’s Future
OpenAI’s president Greg Brockman takes…

Reggie Fils-Aimé Reveals Why Nintendo Stopped Selling on Amazon in the DS Era
Former Nintendo of America President…

Musk v. Altman: Revealing the Early Secrets of OpenAI
Get an inside look at the Musk v.…

Apple’s “Ultra” Era: The Next Evolution for iPhone and Mac
Apple is rumored to expand its ‘Ultra’…

How AI Is Changing Breakups: A Look at Digital Relationship Endings in 2026
Breaking up is never easy, but in 2026,…

Elon Musk’s Courtroom Performance Raises Eyebrows in Musk v. Altman Trial
Elon Musk appeared less prepared and…

Jury Selection in Musk v. Altman: Public Opinion Challenges Elon Musk in Court
Jury selection in the high-profile Musk…
Google’s New Gradient Icons: A Fresh Look Coming to More Apps
Google is expanding its new gradient…

GPT-5.5: OpenAI’s Latest Breakthrough Is Resetting the AI Bar
OpenAI’s GPT-5.5 has arrived, setting a…

Xbox Game Pass ‘Starter Edition’ Leak: New Bundle with Discord Nitro Revealed
A new leak reveals Microsoft is…

DJI Launches Lito Series: Affordable Entry-Level Drones Starting Under $400
DJI introduces the Lito 1 and Lito X1,…

The End of Human Intimacy: How AI Companions Are Rewiring Our Emotional Lives
Are AI companions truly filling the…


The new brand identity
When you are alone for days or weeks at…